How to Actually Design with AI in 2026 (Without Making Generic Garbage)
Here's the brutal truth about AI design tools - they amplify whatever taste you already have. If you don't know what good design looks like, AI will just execute bad ideas really efficiently.
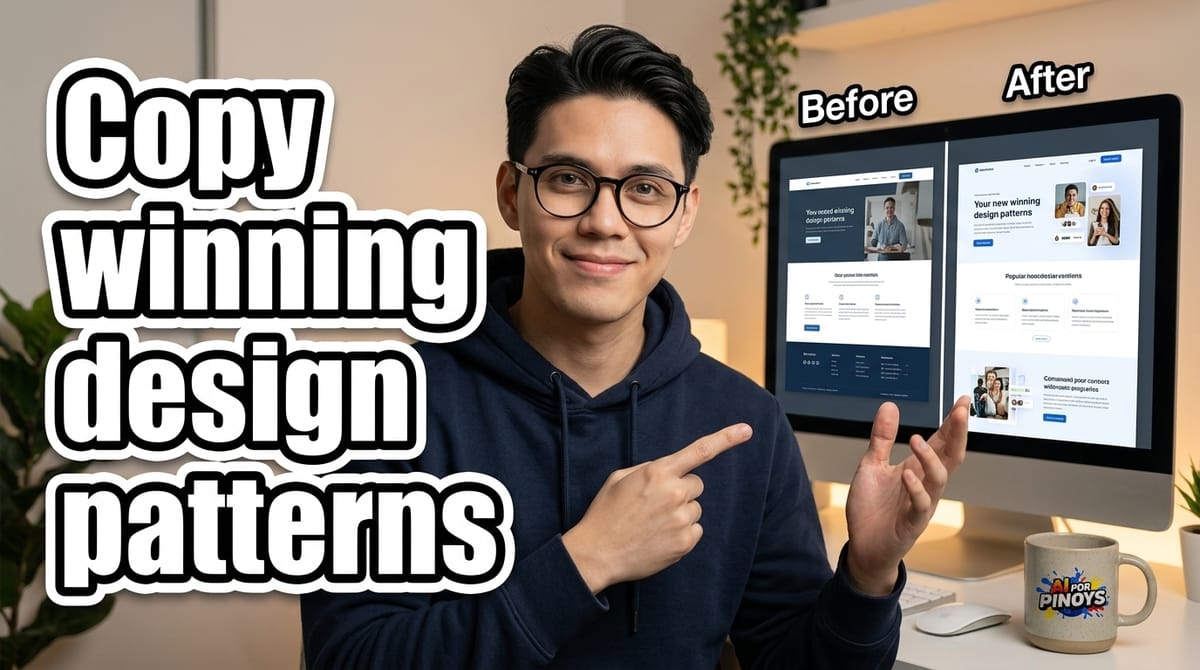
Hey, it's G.
I built 5+ projects with AI before I figured out why everything I made looked like... well, like AI made it.
The problem wasn't my prompts. Everyone's obsessed with "better prompts" like it's some magic spell. Write the perfect 500-word instruction and boom, beautiful design.
That's not how it works.
The real problem: I had zero taste.
And here's the brutal truth about AI design tools - they amplify whatever taste you already have. If you don't know what good design looks like, AI will just execute bad ideas really efficiently.
Let me show you the workflow that actually fixed this for me.
Execution is Easy, Judgment is Everything
You can ask Claude to "design a dashboard" and it'll give you something that works. Buttons click. Forms submit. Colors exist.
But does it look good? Does it feel right? Would you actually want to use it?
Here's what I realized: AI is incredible at patterns it's seen before. Your job isn't to write longer prompts. Your job is knowing which patterns are worth copying.
The designers winning in 2026 aren't the ones with the newest tools or the most complex workflows. They're the ones who've trained their eye by:
- Studying hundreds of interfaces
- Deconstructing what actually works
- Feeding that judgment back into their AI workflow
Think about it. When you see a beautifully spaced landing page or a perfectly balanced color palette, you're not impressed by the technical execution. You're impressed by the taste behind it.
AI can execute anything. You just need to know what's worth executing.
My Actual Design Workflow (5 Steps That Work)
Step 1: Build Taste Through Visual References
Before I touch any AI tool, I spend 20-30 minutes gathering screenshots. Not just "pretty" designs - interfaces that solve the same problem I'm working on.
Where to look:
- Awwwards - cutting-edge web design (sometimes too cutting-edge, be selective)
- Pinterest AI search - upload a screenshot, find similar designs (surprisingly good)
- Dribbble - UI patterns and component ideas
Pro tip: Don't just save random pretty images. Ask yourself: "What specifically works here?"
Is it the hierarchy? The spacing? The color restraint? The typography?
Try naming it. This builds your design vocabulary. "I like how the hero section uses generous whitespace and a bold sans-serif with tight kerning" is way more useful than "this looks nice."
Moodboarding feels peak 2010s but it works perfectly for vibe design in 2026.
Step 2: Video → Code (The Shortcut I'm Testing)
Apparently you can record a video of any website and have AI recreate the code.
The tool: Kimi K2.5
What it does: You screen record a site, upload the video, and it clones the structure, components, and even visual interactions.
Honest take: I haven't fully tested this yet. It sounds too good to be true, pero I'm curious enough to try it.
Question for you: Does Claude Code do this? Video to code? If anyone's tested this, drop it in the comments. I want to know if I can stay in my current stack or if Kimi is actually worth switching for.
The promise: Captures 80% of the aesthetic immediately. Parses structure, components, transitions frame-by-frame.
My skepticism: 80% sounds optimistic. But even 60% would be huge if it actually works.
Step 3: Learn the Language of Design (So You Can Actually Direct AI)
This is where most people fail.
You can't prompt what you can't name.
Saying "make this prettier" or "please fix the spacing" is useless. AI doesn't know what "prettier" means to you.
But if you say "increase the leading on body text from 1.4 to 1.6 and reduce the kerning on the CTA by -0.02em," AI executes perfectly.
Here's what you actually need to learn:
Typography basics:
- Hierarchy - H1 → H6 → body → captions (size and weight progression)
- Kerning - space between individual letters
- Leading - vertical line spacing (1.5 is standard for body text)
- Weight - thin/regular/bold/black (don't use more than 3 weights)
Layout fundamentals:
- White space - breathing room around elements (this is what separates amateur from pro)
- Proximity - grouping related items closer together
- Contrast ratio - 4.5:1 minimum for accessibility (use a contrast checker)
Color system:
- Primary - brand colors, max 2
- Accent - CTAs and highlights (one color, used sparingly)
- Semantic - error red, success green, warning yellow
- Neutral - text grays (usually 3-5 shades)
Why this matters: When you say "reduce the leading on H2s to 1.4 and tighten kerning on the CTA," AI knows exactly what to do.
The difference is precision. AI doesn't guess. But it executes exactly what you tell it.
Step 4: Meta-Prompts + Skills (Build Once, Use Forever)
This is where it gets interesting.
Meta-prompts create range. Skills lock in quality. I use both.
Phase 1: Meta-Prompts (Use AI to Write Prompts for AI)
Instead of writing a new detailed prompt every time, I have AI generate "vibe specs" for me.
The process:
- Give AI context about the project (audience, goal, aesthetic references)
- Ask it to generate a detailed style brief
- Feed that style brief into my design tool (currently testing Minimax-2.5)
Outcome: You can produce dozens of distinct style specifications quickly. Volume builds taste.
Note on Minimax-2.5: This is what the original author uses for frontend design. I'm still on Claude Code for most things, but I'm testing alternatives. Your mileage may vary.
Phase 2: Skills.md (Reusable Design Rules)
What skills are: Reusable, task-scoped rule packs (constraints + checks + workflows) that AI applies automatically whenever the task matches.
Think of it like CLAUDE.md but specifically for design best practices.
Three skills worth checking out:
1. UI Skills (by @Ibelick)
- Library of reusable "fix packs" for accessibility, motion performance, metadata
- Prevents common mistakes by default
- Install:
npx ui-skills init
2. UI/UX Pro Max - Design Intelligence
- Searchable design playbook for web + mobile
- Pick your stack, get recommendations
- Standardizes production UI patterns
3. RAMS - Final QA with Line-Level Fixes
- Automated review that flags UI issues
- Returns concrete fixes with line numbers
- Last-mile polish before shipping
My workflow:
- Meta-prompt → vibe spec (style intent, hierarchy, interaction feel)
- Generate code (Claude Code or Minimax-2.5)
- Apply skills (baseline constraints for UI, motion, metadata)
- Run UI/UX Pro Max review
- Final polish with RAMS
Why this compounds: Once your constraints live as skills, every future UI inherits them by default. Less rework. Fewer regressions. More consistent taste.
Step 5: The Zoom-In Method (50% → 99% → 100%)
This framework changed everything for me. Stop expecting AI to nail it in one shot.
First Pass (50%): Full Context Dump
Give AI everything you know about the project:
- Goal and core features
- Target audience and vibe
- Color palette (specific hex codes, not just "blue")
- Every page and component needed
- Reference code from designs you like
Don't hold back. Dump everything.
Second Pass (99%): Self-Review
Use this exact prompt:
Review the code you just generated. Check for:
- Font size inconsistencies
- Padding/margin irregularities
- Hierarchy problems (is the visual order logical?)
- Color usage (are we using too many colors?)
- Accessibility issues (contrast, focus states)

Fix everything you find and explain what you changed.
Why this works: AI catches 70% of its own mistakes when you make it review its work. Font sizes, padding inconsistencies, hierarchy issues - it fixes them without you pointing them out.
Repeat this for each page. You're now at 99%.
Micro Pass (100%): Pixel-Perfect Polish
Now you get specific. Screenshot problem areas. Point out exact issues.
"The CTA button needs 2px more vertical padding. The hero headline kerning is too loose. The card shadows are inconsistent - use this exact shadow: 0 4px 6px rgba(0,0,0,0.1)."
Being specific = better results. Screenshots help even more.
The Philosophy: Treat AI Like a Junior Designer
Stop treating AI like a black box that either works or doesn't.
Start treating it like a junior designer:
- You give direction
- They execute
- You review
- They refine
- You approve
Professional design is a progression: low-fidelity wireframes → high-fidelity mockups → polished micro-interactions.
The Zoom-In Method guides AI through this proven process.
Old way: 6-8 hours of manual labor fighting Figma or code
New way: 1-2 hours of strategic guidance and systematic refinement
Your New Design Moat (What Actually Matters)
Your taste and process are your competitive advantages. Not your tools. Not your prompts.
What wins:
Precision - Trade "make it look good" for professional terminology (leading, kerning, contrast ratios)
Curation - Use real-world references to kill generic AI outputs
Efficiency - Let the Zoom-In Method handle technical execution while you focus on cohesion and user empathy
The bottom line: You're no longer the bottleneck of your own creativity.
Stop overthinking. Start shipping.
What I'm Testing Next
Kimi K2.5 video-to-code: Does it actually work or is this marketing hype? I'm skeptical but curious.
Claude Code video capabilities: Can it do the same thing? Or do I need to add another tool to my stack?
Skills.md for design: Building a comprehensive design skill file that enforces my taste automatically.
Volume testing: Generating 50+ landing pages using the Zoom-In Method to see if quality stays consistent at scale.
The Real Talk
I wasted months trying to get AI to magically produce good design with better prompts.
That's not how it works.
AI is a multiplier. If you have taste, it amplifies it. If you don't, it just makes mediocre designs faster.
The solution: Build taste first. Then let AI execute.
Study interfaces. Name what works. Learn the vocabulary. Build reusable constraints. Use the Zoom-In Method.
That's it. No magic. Just systematic improvement.
G
P.S. - If you've tested Kimi K2.5 or know if Claude Code can do video-to-code, drop it in the comments. I want to know before I add another tool to my workflow.
P.P.S. - The Skills.md files mentioned above are worth exploring. They're basically CLAUDE.md but for design best practices. Game changer if you're shipping UIs regularly.